The complete dressmaking loop
Customer request → sketchbook → fabric shopping → pattern layout and cutting → mannequin preview → sewing → decoration → delivery.
Call the next customer and find your panels
In the Steam release, ring the bell to summon the next customer; this is the behaviour documented in Build 403. Follow the tutorial prompts when starting a new save.
Choose pieces in the sketchbook
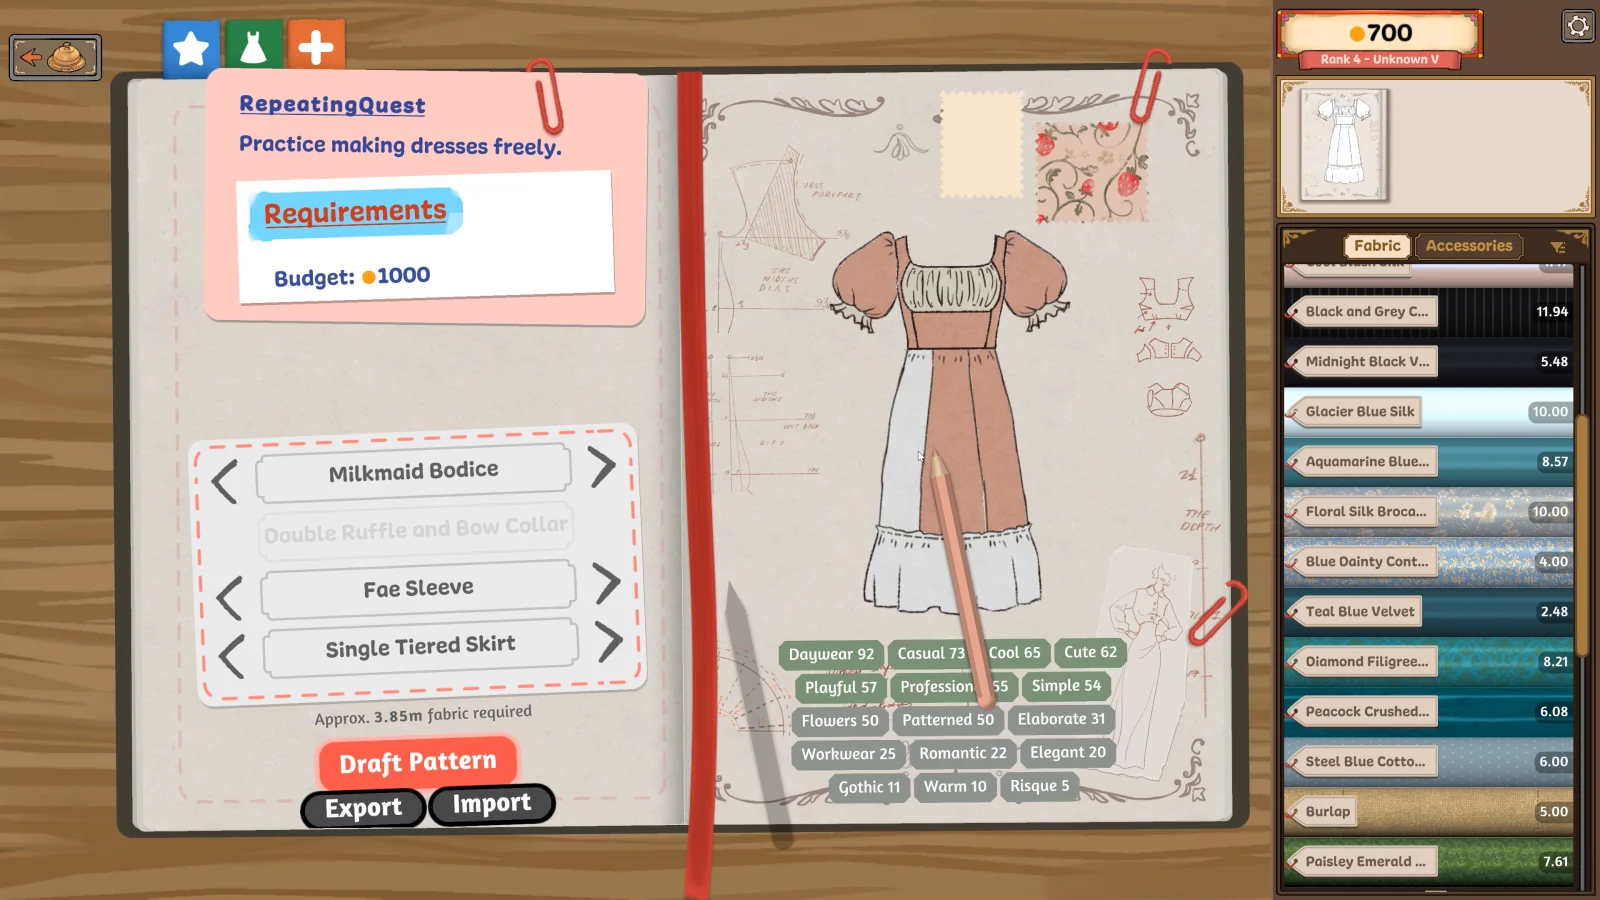
Click a component name to choose its design. Build 410 makes these clickable names easier to recognise.
Match panels to the mannequin
Hover over a panel in the inventory to see a placement hint. Use this Build 410 feature when you are unsure which part of the dress a piece belongs to.
A tutorial that stops progressing
Build 410 fixes the tutorial getting stuck when the sketchbook is clicked before the bell. Update the Steam game if you are using an older build, then follow the on-screen sequence.
Your first dress
Start with a design you can read easily. A simple garment helps you understand which pieces join together before you add more complicated details.
Plan before shopping
Choose the shape and colour palette before buying fabric. Keep the customer’s brief alongside the sketch.
Check each stage
Inspect the pattern layout before cutting and the assembled garment before sewing.
Read the feedback
Compare the result with the request. Change one part of your approach at a time so you can see what helped.
Read the sketchbook feedback
Seerolz’s player guide explains that the yellow marker is the target, solid green is guaranteed, and striped green varies with fabric use. A “max” request is a ceiling, not a score to exceed.
Choose the right version
The Steam release and the itch.io prototype are separate builds. Their content and instructions can differ; use the tutorial and control prompts in the version you installed.